
Tiếp tục series tạo blog với NextJS và Nx, trong bài này mình sẽ giới thiệu phần tích hợp Tailwind Css vào dự án. Link bài viết gốc ở đây nhé: https://blog.nrwl.io/setup-next-js-to-use-tailwind-with-nx-849b7e21d8d0
Link bài viết trước
Bạn cũng có thể tìm hiểu về Tailwind, cách cài đặt và cấu hình cho dự án NextJS ở link doc trang chủ Tailwind: https://tailwindcss.com/docs/guides/nextjs
Cài đặt và cấu hình Tailwind trong Nx workspace
yarn add tailwindcss@latest postcss@latest autoprefixer@latest
bước tiếp theo chúng ta sẽ tạo các file cấu hình tailwind.config.js và postcss.config.js. Tailwind cung cấp 1 số tiện ích cho việc này, Lưu ý trong Nx workspace vừa tạo, mình đã đặt tên ứng dụng là site nằm trong folder apps, vì thế để tạo config Tailwind, chúng ta cd đến thư mục chứa ứng dụng đó và sử dụng lệnh:
cd apps/site
npx tailwindcss init -p
Các bạn nhớ chỉnh sửa lại file postcss để link sang đúng tailwind config như dưới nhé:
// apps/site/postcss.config.js
const { join } = require('path');

module.exports = {
  plugins: {
    tailwindcss: {
      config: join(__dirname, 'tailwind.config.js'),
    },
    autoprefixer: {},
  },
};
Sử dụng Tailwind css trong components
Có 2 cách để include Tailwind css vào trong file:
- import trực tiếp tailwind vào _app.tsx
...
import 'tailwindcss/tailwind.css';

function CustomApp({ Component, pageProps }: AppProps) {
  ...
}

export default CustomApp;- include vào style.css
@tailwind base;
@tailwind components;
@tailwind utilities;
Kiểm tra việc tích hợp Tailwind
Chỉnh sửa nội dung file index.tsx sử dụng tailwind và kiểm tra hiển thị:
// apps/site/pages/index.tsx
export function Index() {
return (
<div className="bg-gray-50">
<div className="max-w-7xl mx-auto py-12 px-4 sm:px-6 lg:py-16 lg:px-8 lg:flex lg:items-center lg:justify-between">
<h2 className="text-3xl font-extrabold tracking-tight text-gray-900 sm:text-4xl">
<span className="block">Ready to dive in?</span>
<span className="block text-indigo-600">
Start your free trial today.
</span>
</h2>
<div className="mt-8 flex lg:mt-0 lg:flex-shrink-0">
<div className="inline-flex rounded-md shadow">
<a
href="#"
className="inline-flex items-center justify-center px-5 py-3 border border-transparent text-base font-medium rounded-md text-white bg-indigo-600 hover:bg-indigo-700"
>
Get started
</a>
</div>
<div className="ml-3 inline-flex rounded-md shadow">
<a
href="#"
className="inline-flex items-center justify-center px-5 py-3 border border-transparent text-base font-medium rounded-md text-indigo-600 bg-white hover:bg-indigo-50"
>
Learn more
</a>
</div>
</div>
</div>
</div>
);
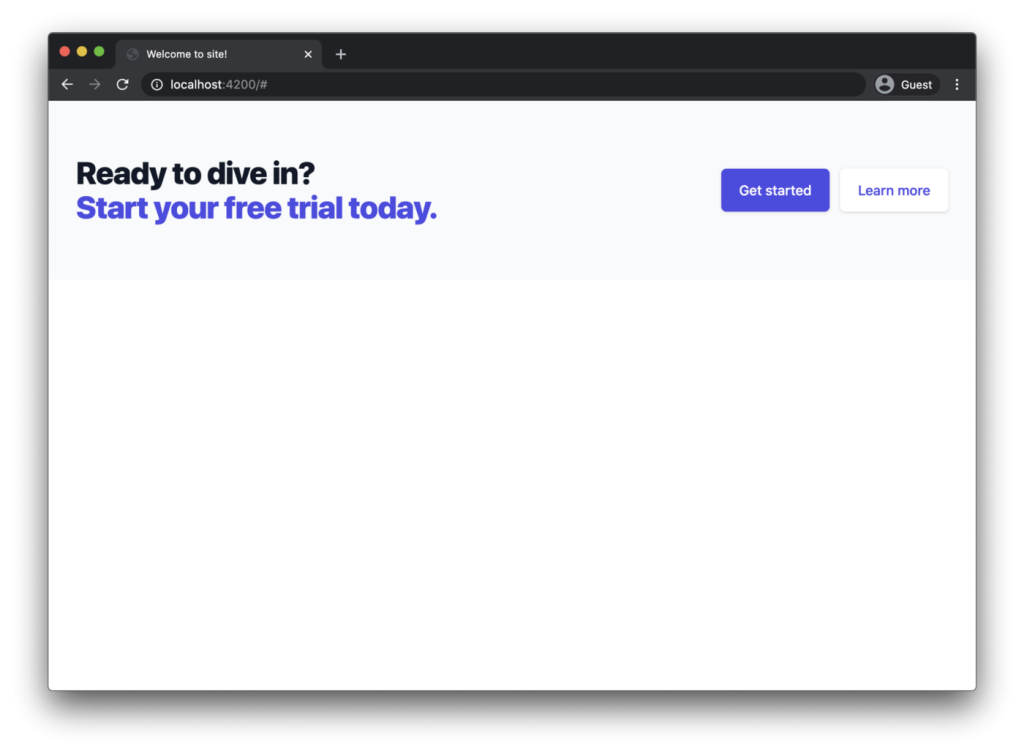
}Chạy thử page index và kết quả đạt được như hình sau:
Làm thế nào để quản lý cấu hình Tailwind trong monorepo
Như chúng ta thấy, Tailwind config nằm riêng trong thư mục apps/[ứng dụng]. Để nó có thể global hơn, tái sử dụng ở các apps khác nhau; nx cung cấp Nx workspace-wide config giúp bạn có thể tận dụng Tailwind presets. Ở thư mục root, chúng ta định nghĩa 1 file là tailwind-workspace-preset.js
Hãy thử add thêmTailwind Typography package:
yarn add @tailwindcss/typography
Tiếp đó chúng ta thêm vào cấu hình file tailwind-workspace-preset.js
// tailwind-workspace-preset.js

module.exports = {
  theme: {
    extend: {},
  },
  variants: {
    extend: {},
  },
  plugins: [require('@tailwindcss/typography')],
};
Để sử dụng được Tailwind preset, chúng ta thêm require vào tailwind config trong ứng dụng:
// apps/site/tailwind.config.js

module.exports = {
  presets: [require('../../tailwind-workspace-preset.js')],
  ...
};
Tailwind CSS Purging
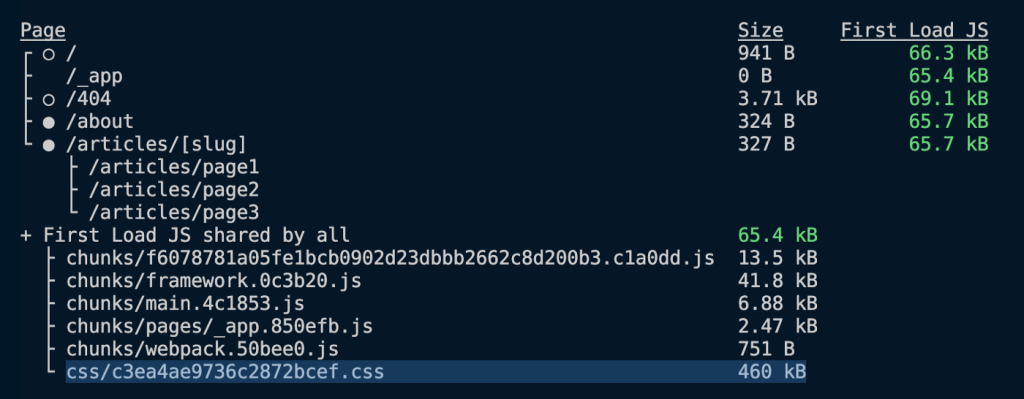
1 trong những ưu điểm của Tailwind là cơ chế css purging giúp giảm thiểu css bundle build ra cho từng phần. Khi thực hiện export ứng dụng hiện tại npx nx run site:export, ta sẽ nhận thấy 1 file css khá nặng được sinh ra:
Cấu hình Css Purging
Để enable css purging, bạn thêm phần thiết lập trong file tailwind.config.js của app.
// apps/site/tailwind.config.js
const { join } = require('path');

module.exports = {
  purge: [
    join(__dirname, 'pages/**/*.{js,ts,jsx,tsx}')
  ],
  ...
};
Có 1 lưu ý ở đây là Tailwind là 1 thư viện css, chính vì thế nó không chỉ được sử dụng trong các apps và hầu như được sử dụng trong các components trong các libs. Để giải quyết bài toán trên, Nx đưa ra solutions từ phiên bản Nx 12.4.0 như dưới đây:
// apps/site/tailwind.config.js
const { join } = require('path');
// available since Nx v 12.5
const { createGlobPatternsForDependencies } = require('@nrwl/next/tailwind');
module.exports = {
presets: [require('../../tailwind-workspace-preset.js')],
purge: [
join(__dirname, 'pages/**/*.{js,ts,jsx,tsx}'),
...createGlobPatternsForDependencies(__dirname),
],
darkMode: 'media', // or 'media' or 'class'
theme: {
extend: {},
},
variants: {
extend: {},
},
plugins: [],
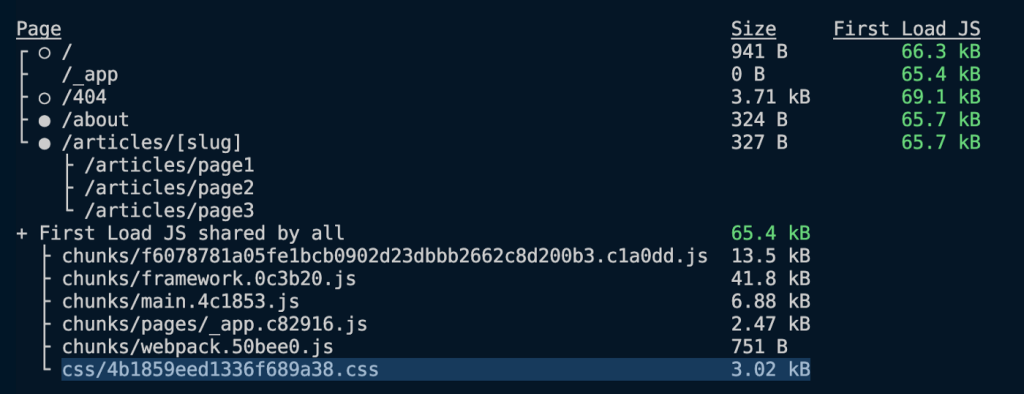
};Kết quả khi build chúng ta sẽ được file css với dung lượng mini hơn nhiều:
Enabling Tailwind JIT
Css Purging chỉ xảy ra khi build và export site của bạn để deploy. Tailwind cũng cung cấp 1 giải pháp cho việc debug từ bản 2.1 trở lên với JIT (just in time mode); để thiết lập mode JIT thì ta thêm vào trong file tailwind config như sau:
// apps/site/tailwind.config.js

module.exports = {
  mode: 'jit',
  ...
};
Các bạn có thể tìm hiểu thêm ở đây: https://v2.tailwindcss.com/docs/just-in-time-mode
OK, bài viết hôm nay đến đây thôi. Trong bài viết này chúng ta đã tìm hiểu được:
- Cách cài đặt Tailwind CSS vào Nx workspace
- Cách config PostCSS và Tailwind
- Cách tổ chức file cấu hình Tailwind trong 1 monorepo
- Cách cấu hình css purging
Link git các bạn có thể tham khảo ở đây: https://github.com/juristr/blog-series-nextjs-nx/tree/02-setup-tailwind
2 Comments